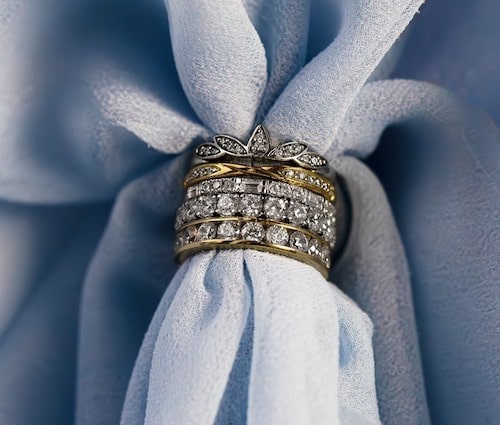
Choosing between a lab-grown and a natural diamond can be a tough decision, so it's always good to do your research first. If you're not sure of the similarities...
Read more »Summer Sale | 30% off Made to Order items and 50% off Quick Delivery items* - T&C's Apply


Need help?
Speak to our Jewellery experts.
Choosing between a lab-grown and a natural diamond can be a tough decision, so it's always good to do your research first. If you're not sure of the similarities...
Read more »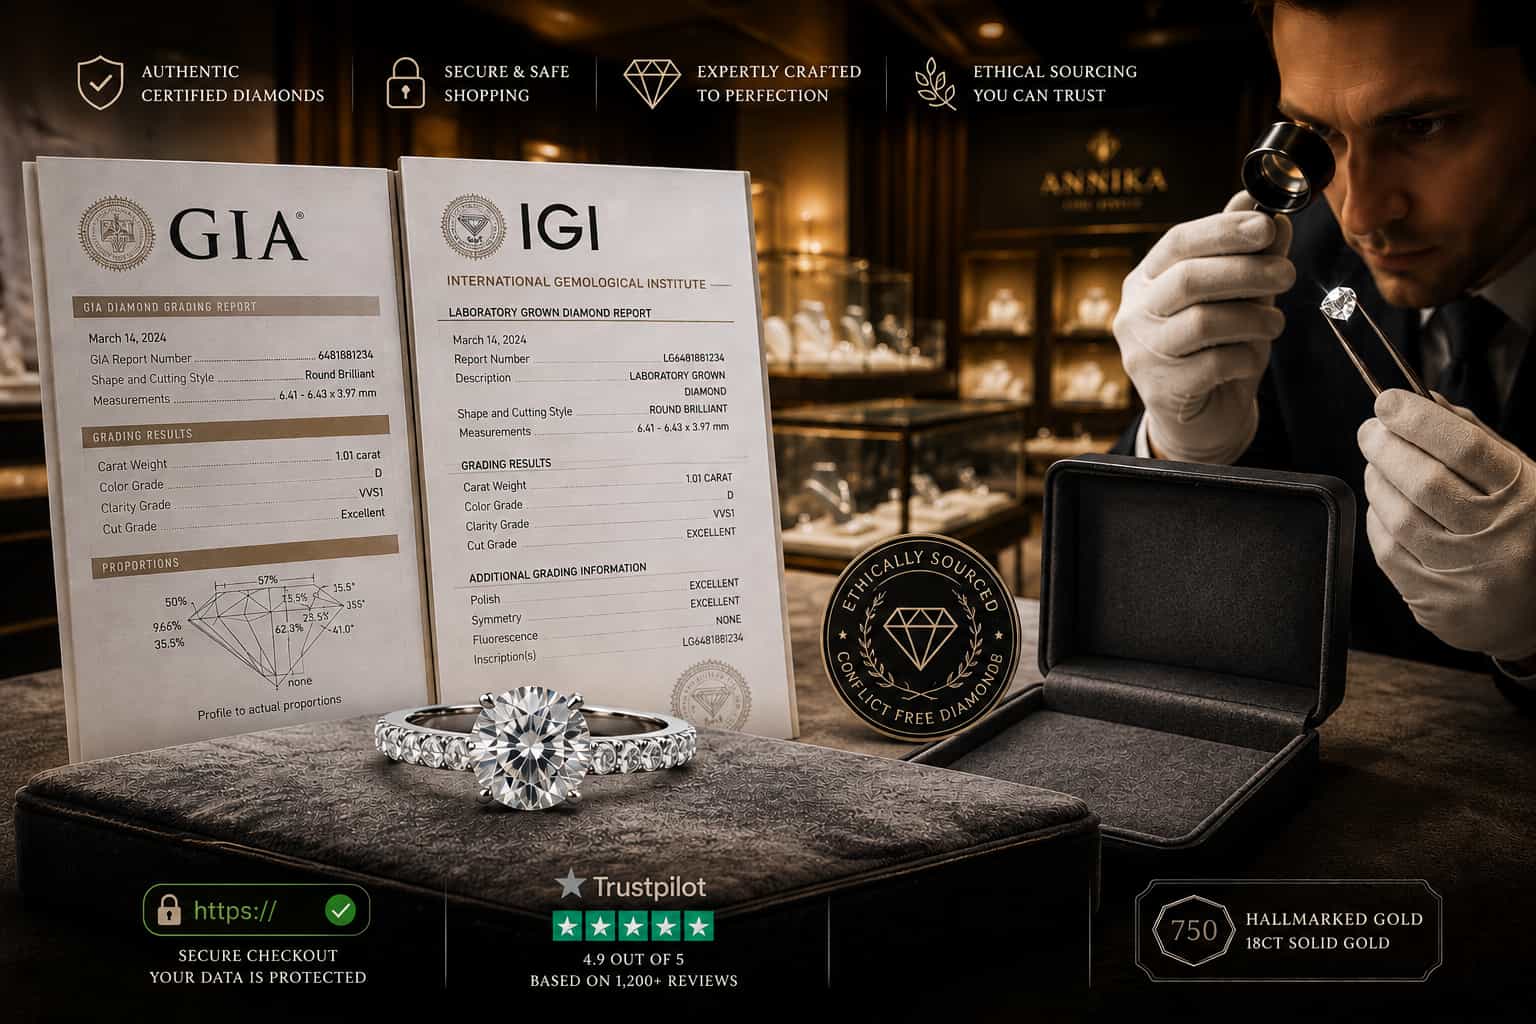
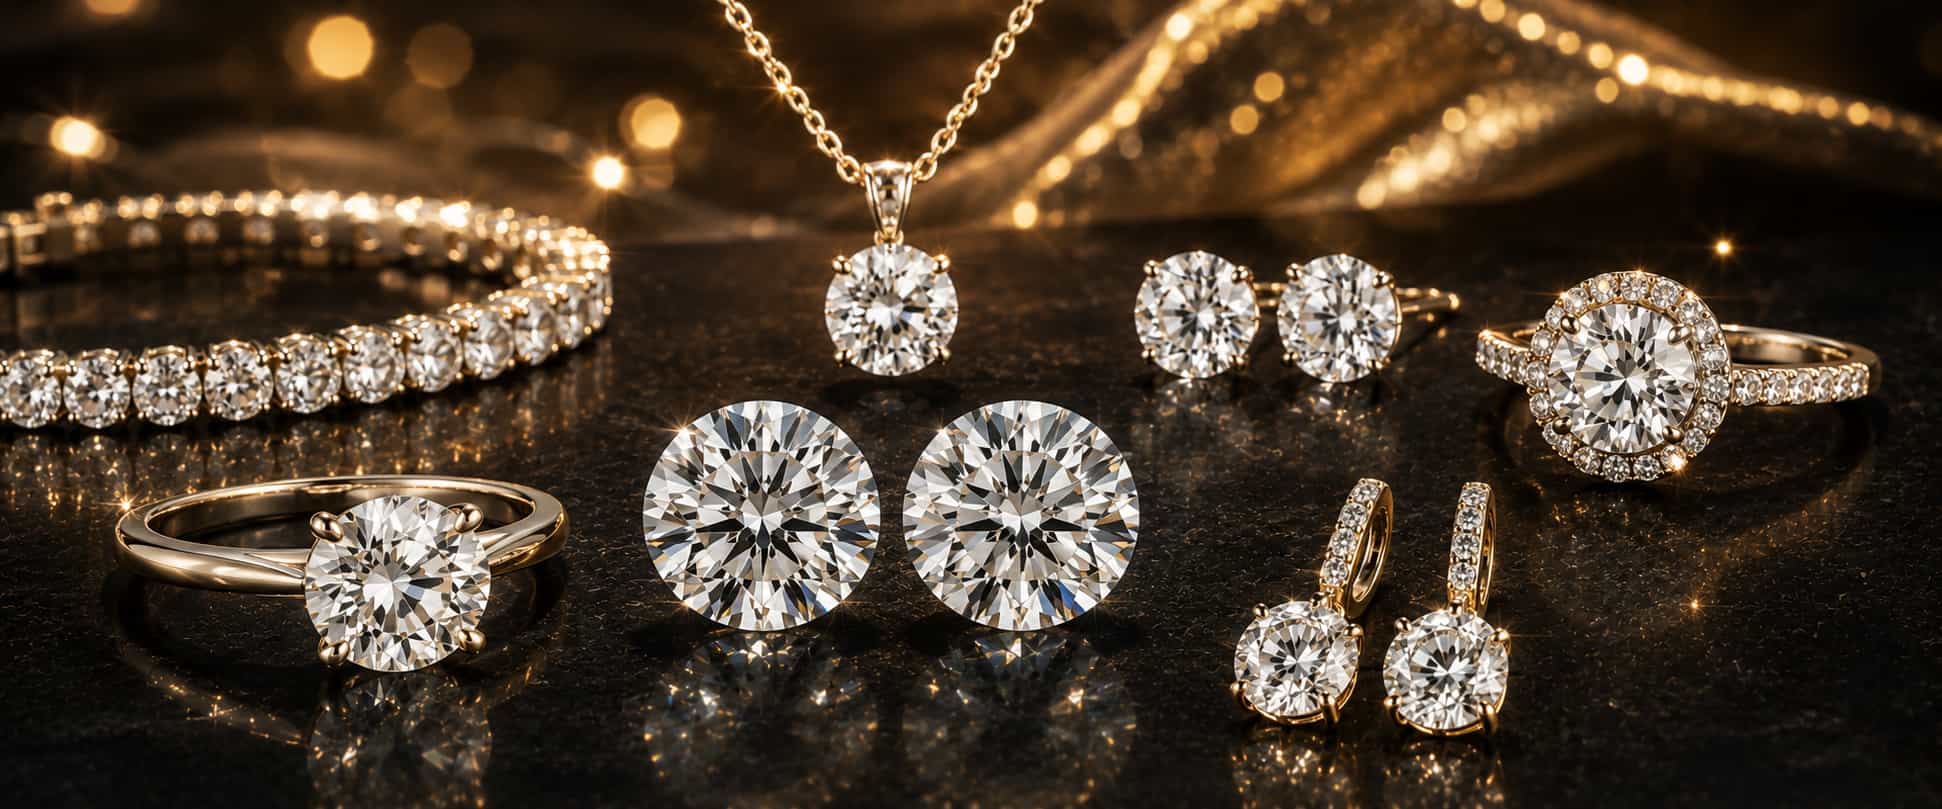
If you're looking to buy diamond jewellery online, it's important to buy from a reputable jeweller. Our guide explains the green flags to look out for...
Read more »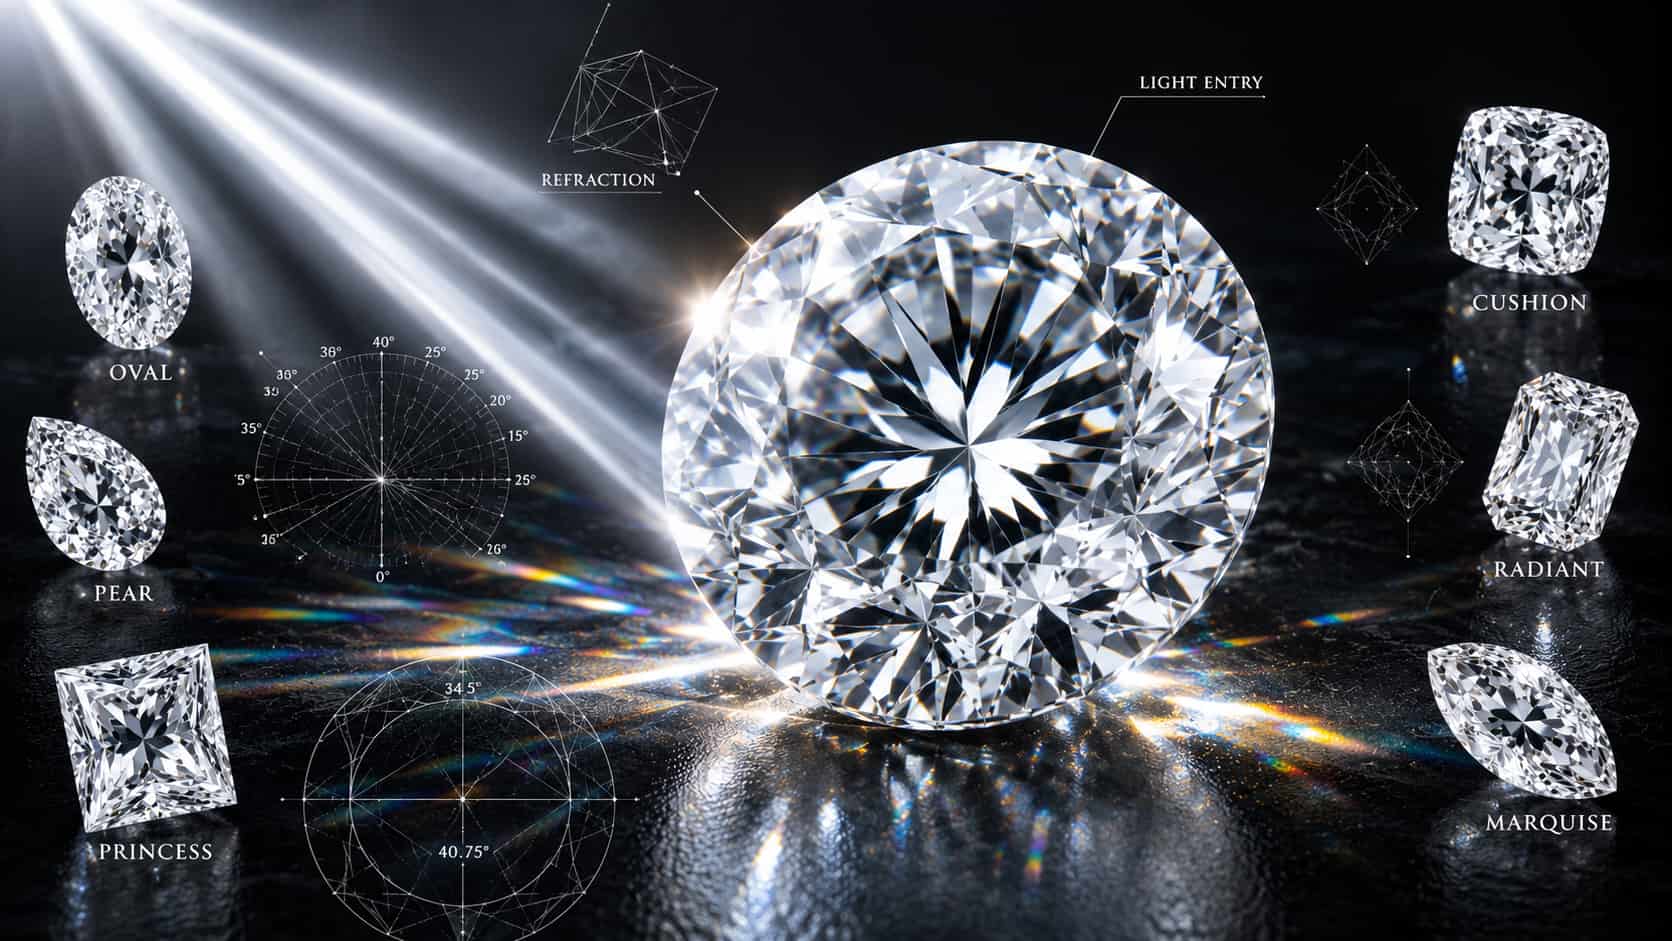
Diamonds are known for their glittering nature, but why do some diamonds sparkle more than others? Our guide explains the science behind what makes diamonds...
Read more »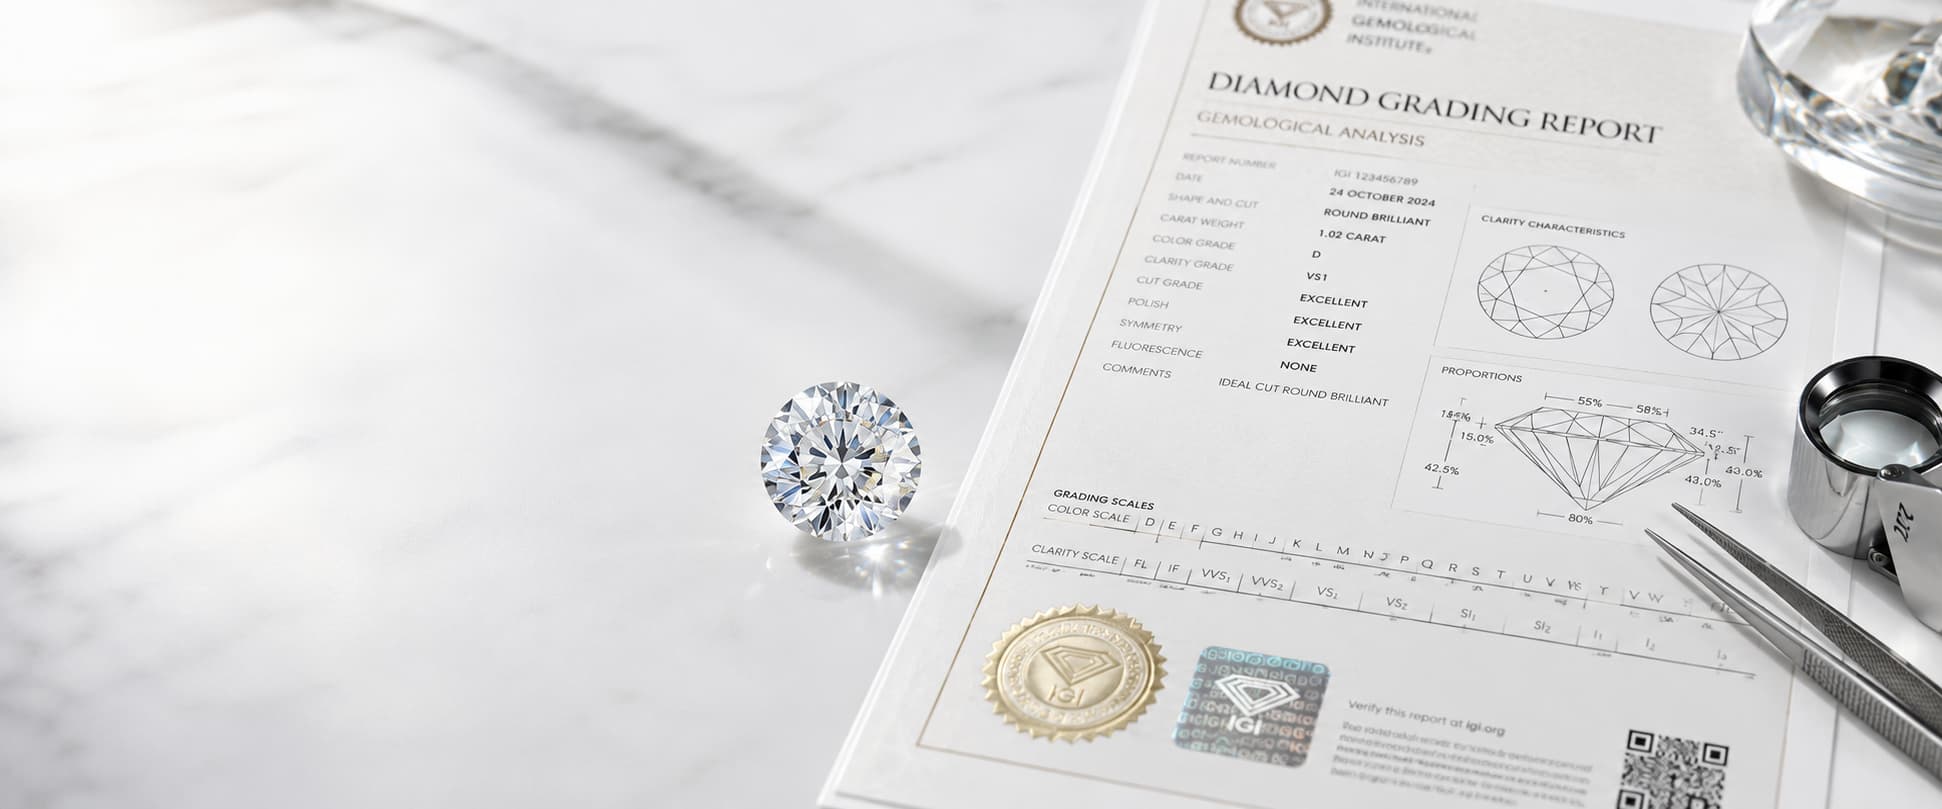
Buying any piece of diamond jewellery is a significant purchase, which is why getting it certified is a wise choice. A certificate gives you an independent...
Read more »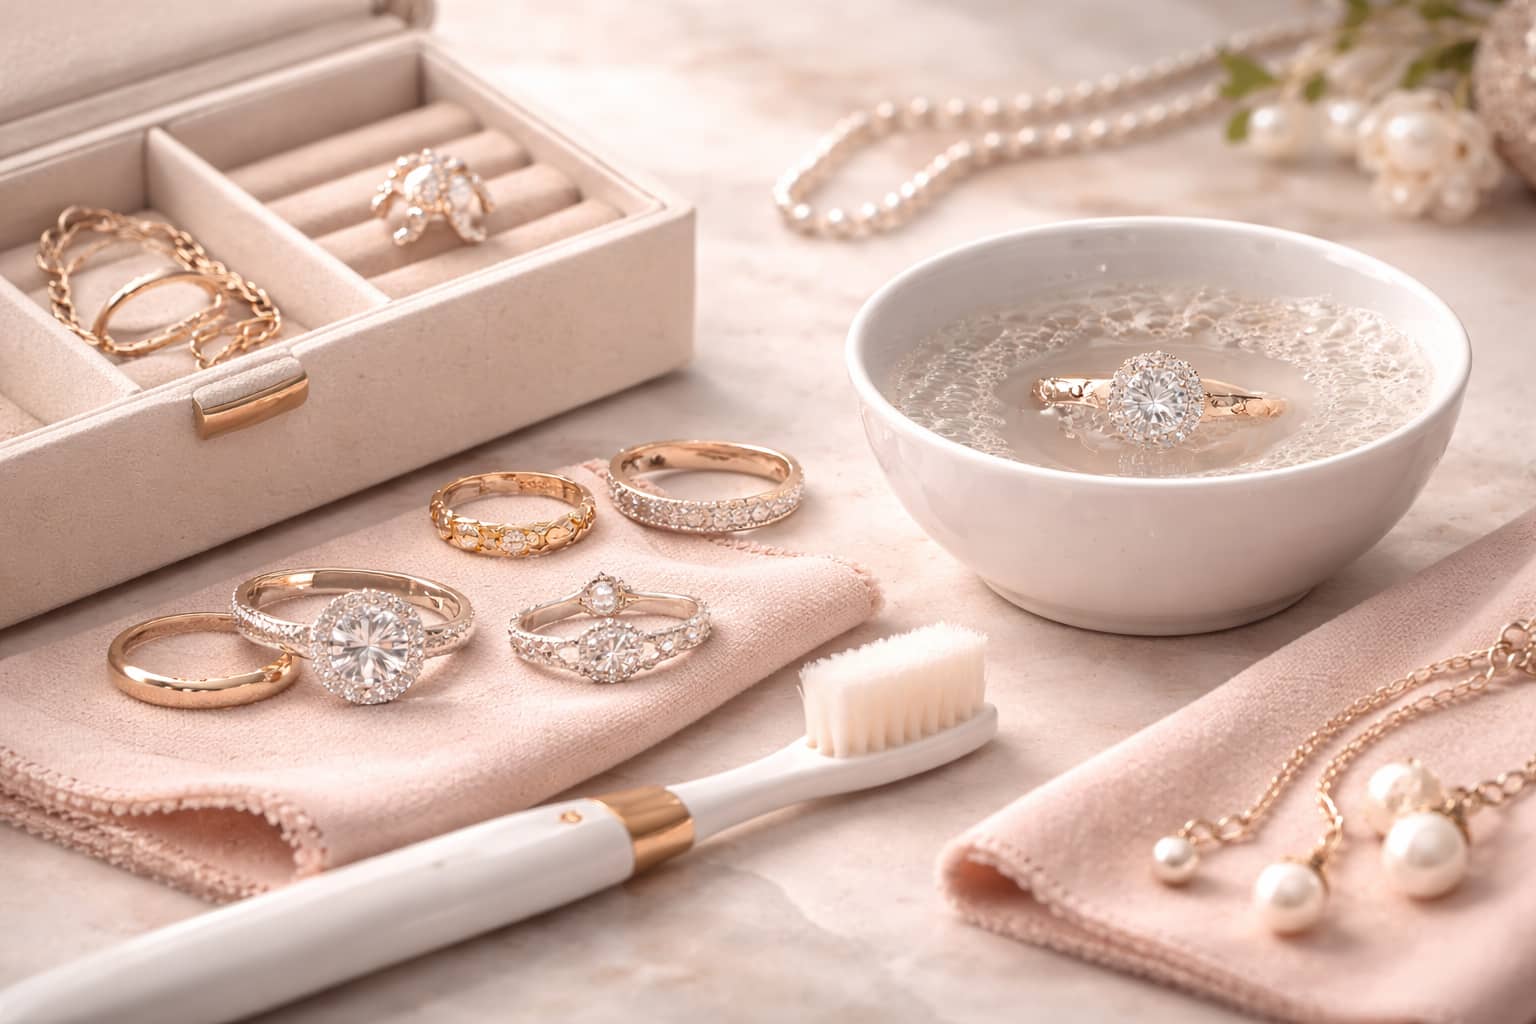
Caring for your jewellery is one of the best investments you can make as an owner. It keeps pieces looking their best, extends their lifespan and preserves...
Read more »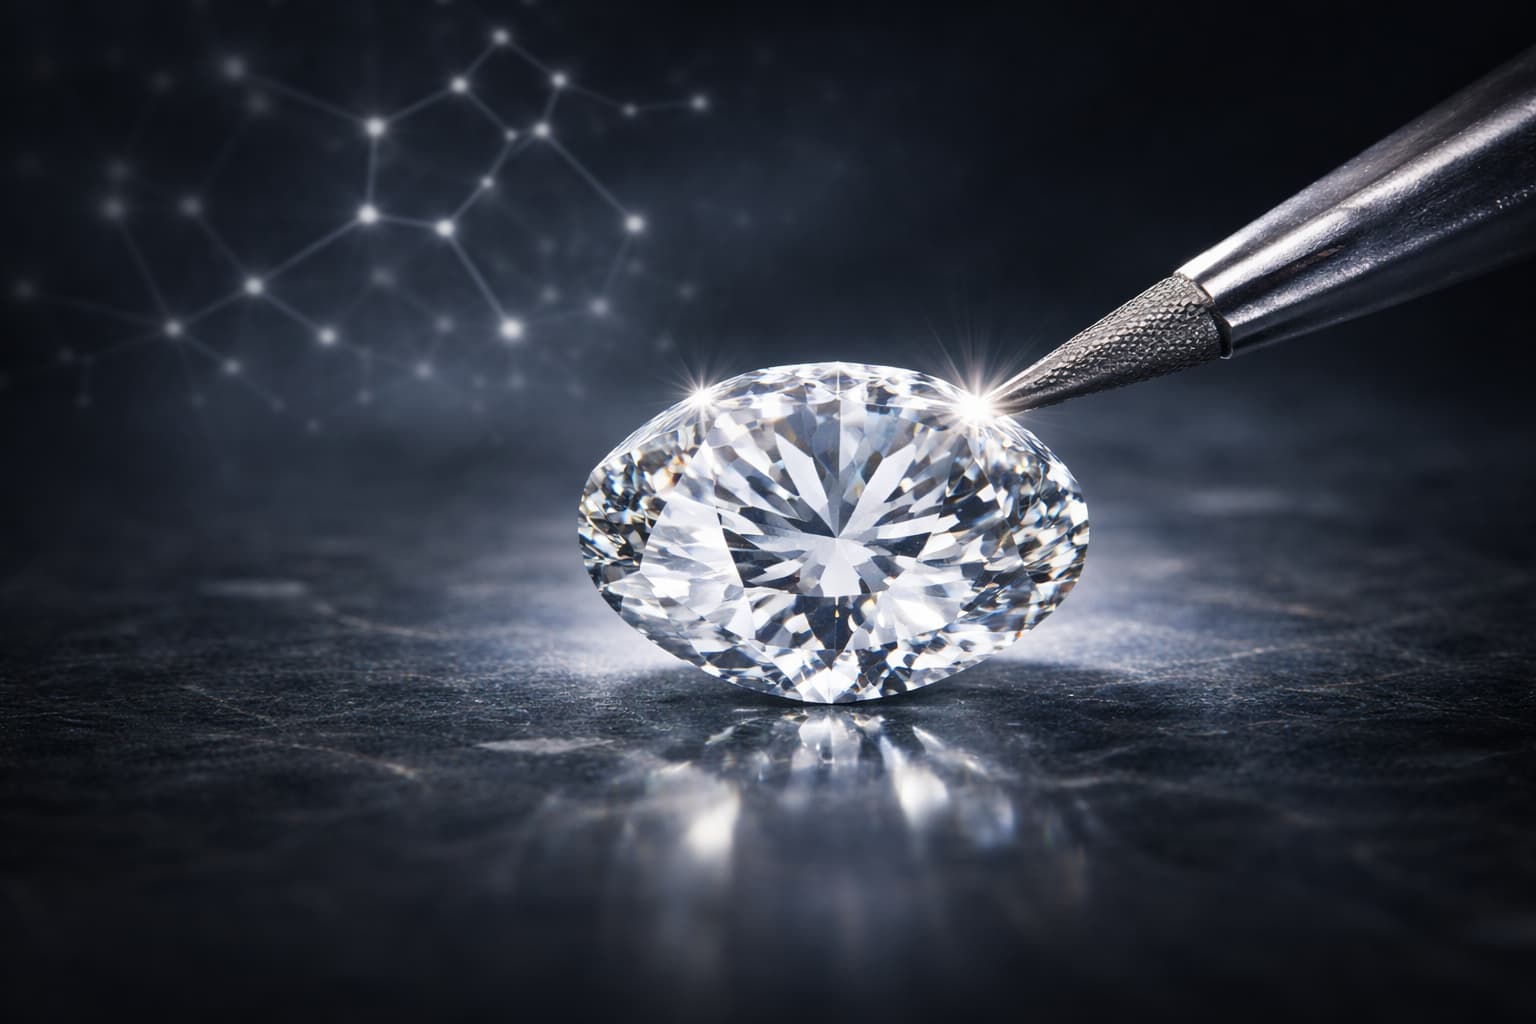
Diamonds score 10/10 on the Mohs scale, making them the hardest of the naturally occurring minerals. But why are diamonds so hard? It's all to do with...
Read more »
Diamonds are not typically purchased as a short‑term investment. Unlike gold, silver, or stocks, diamonds do not have a standardised market price. If you’re...
Read more »
With its association with water, Aquamarine makes the perfect Birthday gift for those born in March, especially if they are a water sign like Pisces. A...
Read more »
Mother’s Day is the one special day of the year dedicated to the women who mean the most to us - our Mums. This Mother’s Day, why not find a gift that...
Read more »
A promise ring is a heartfelt symbol of a committed future together. It’s a way of saying that someone is your person. But how does it differ from an engagement...
Read more »
Choosing a piece of Jewellery takes careful consideration, whether you’re looking to pop the question with your dream engagement ring, investing in a special...
Read more »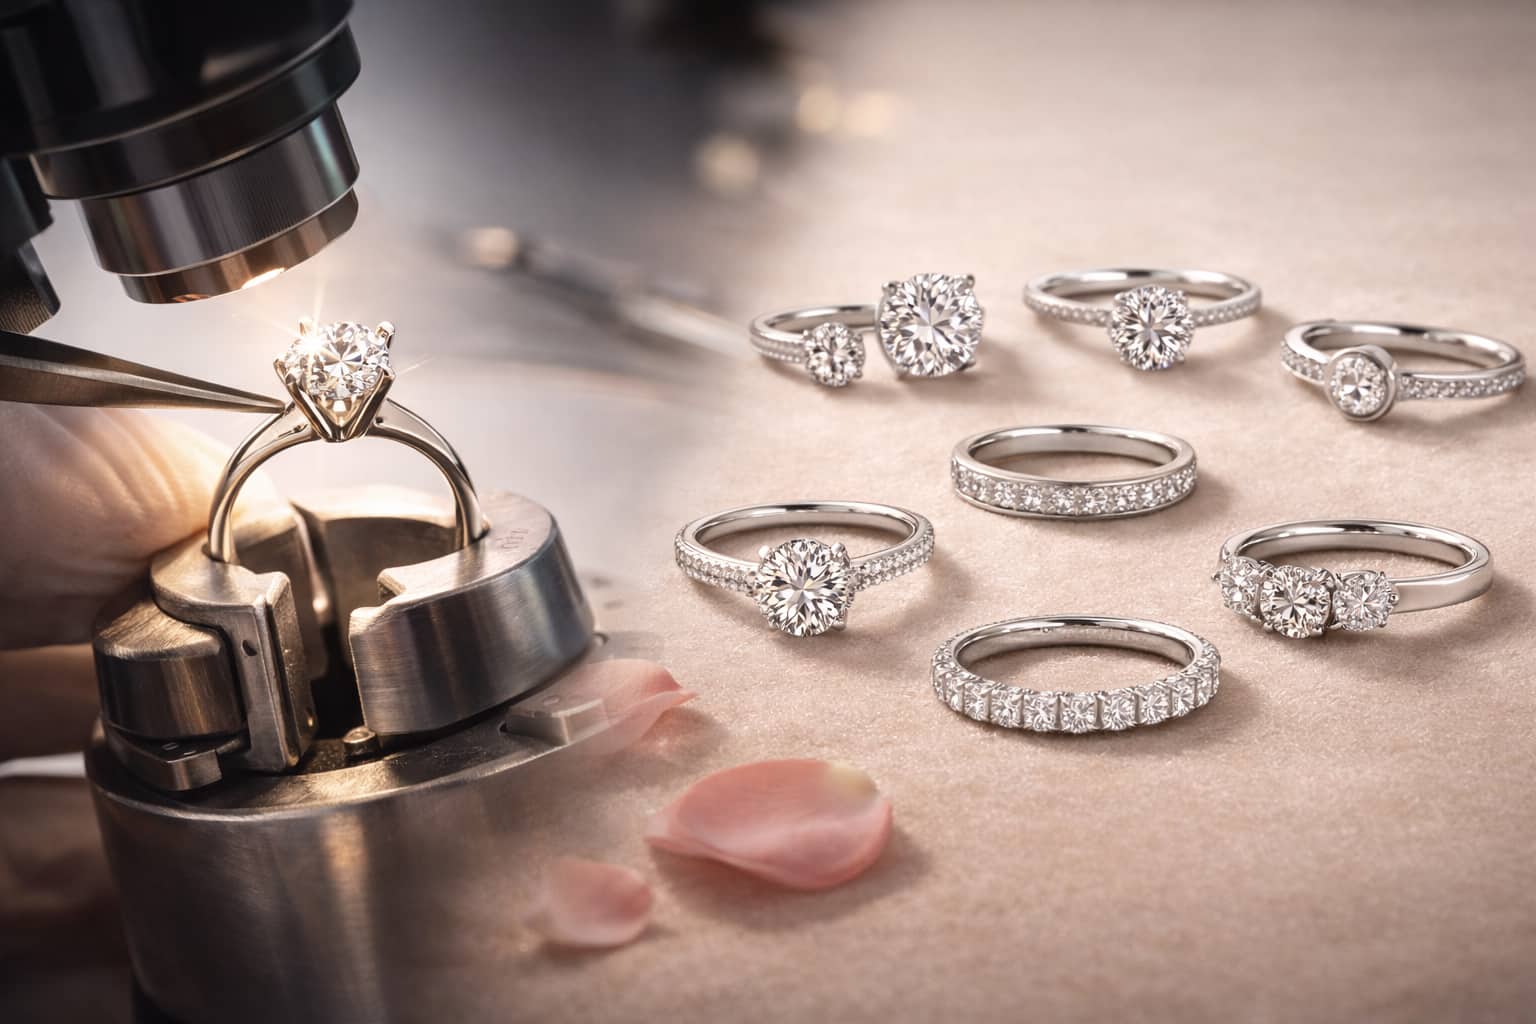
Choosing the right ring setting for your ring is important. It doesn’t simply hold the diamond in place, it impacts the whole look and feel of your ring...
Read more »
As we are jewellery experts at Shining Diamonds, our priority is to ensure you find a diamond that has as much sparkle as you. Our Shining Diamonds blog educates you on different styles of jewellery and offers romantic inspiration for important occasions, such as proposals or weddings. At Shining Diamonds, we don’t want to just supply you with a ring, but be with you every step of the way throughout your wedding journey. The articles on this page split into categories such as education, lifestyle, weddings and engagements. The education articles inform readers of all important aspects of jewellery, such as cultural background, why certificates are important and a guide to metals or diamond cut. The lifestyle section helps you find jewellery perfectly suited to you, such as which diamond shape defines your style, or which ring setting is suited to your day to day activities. The weddings articles cover all of your wedding woes, from venue to place cards. Finally, our engagement section discusses all things romantic, such as advice and inspiration for proposals, or romantic quotes for your loved one.